The clue most traders miss is not the moving average itself — it is what price does after touching it.
📉 Moving Average Setups: The Line Most Traders Misread
A moving average looks simple, which is probably why traders trust it a little too quickly.
In forex, though, that line on the chart rarely tells the whole story. Price action can look clean while the market is quietly setting a trap. A break below the average is not always real weakness. A crossover may arrive after the best part of the move is already gone. And sometimes, a normal-looking pullback says more than the breakout itself.
This article looks at what happens around the moving average, not just on it. It covers fake breaks, reclaims, failed crossovers, compression, liquidity sweeps, and session behavior that often catches traders off guard.
The line is easy to spot. The useful clues usually appear in the reaction around it.
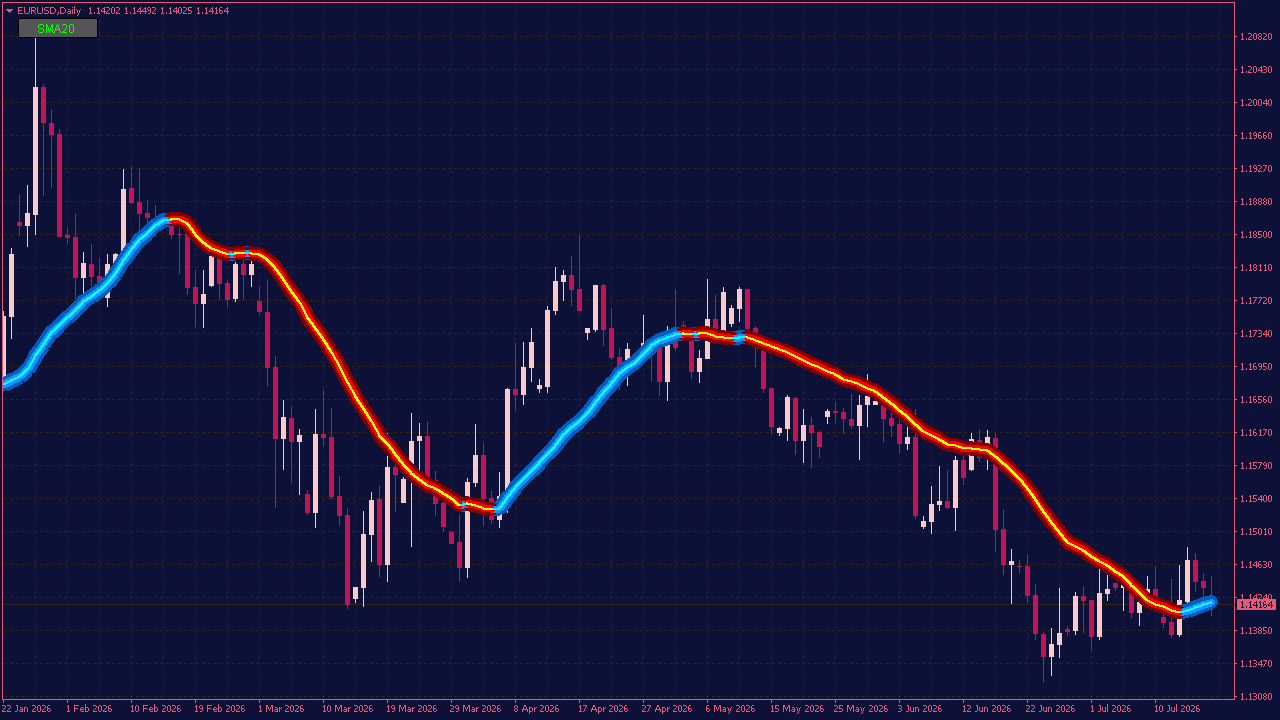
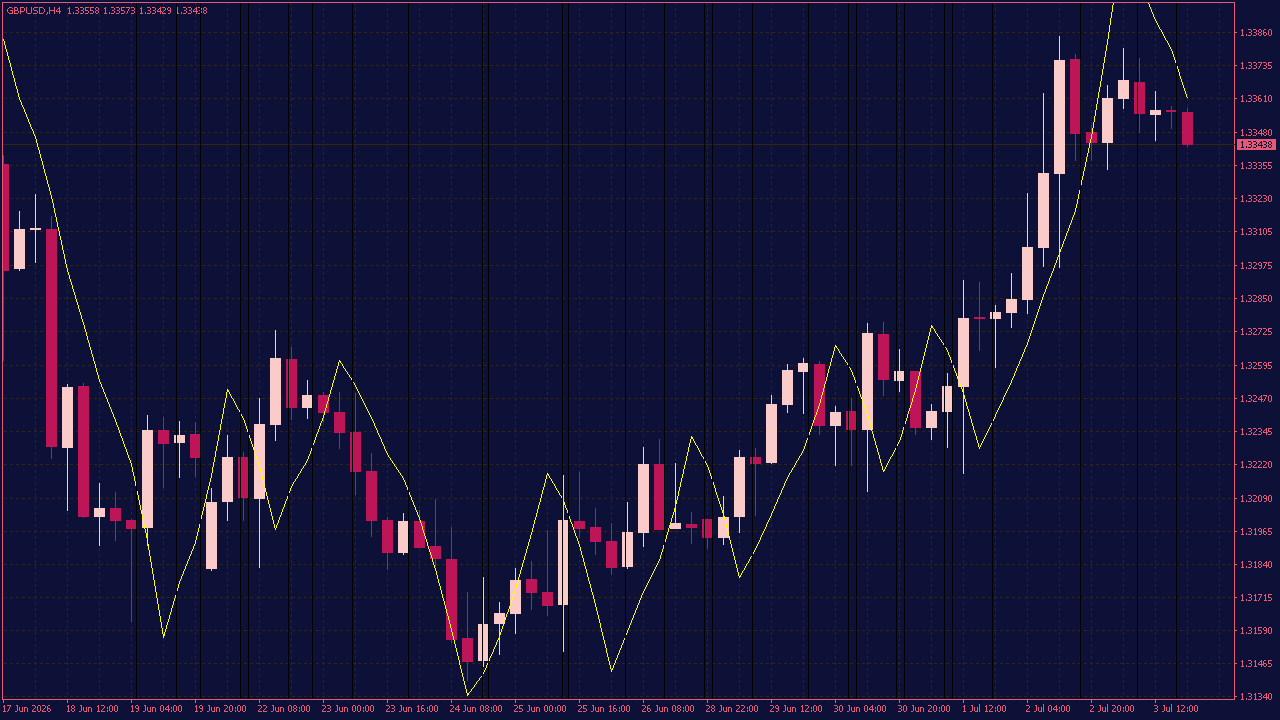
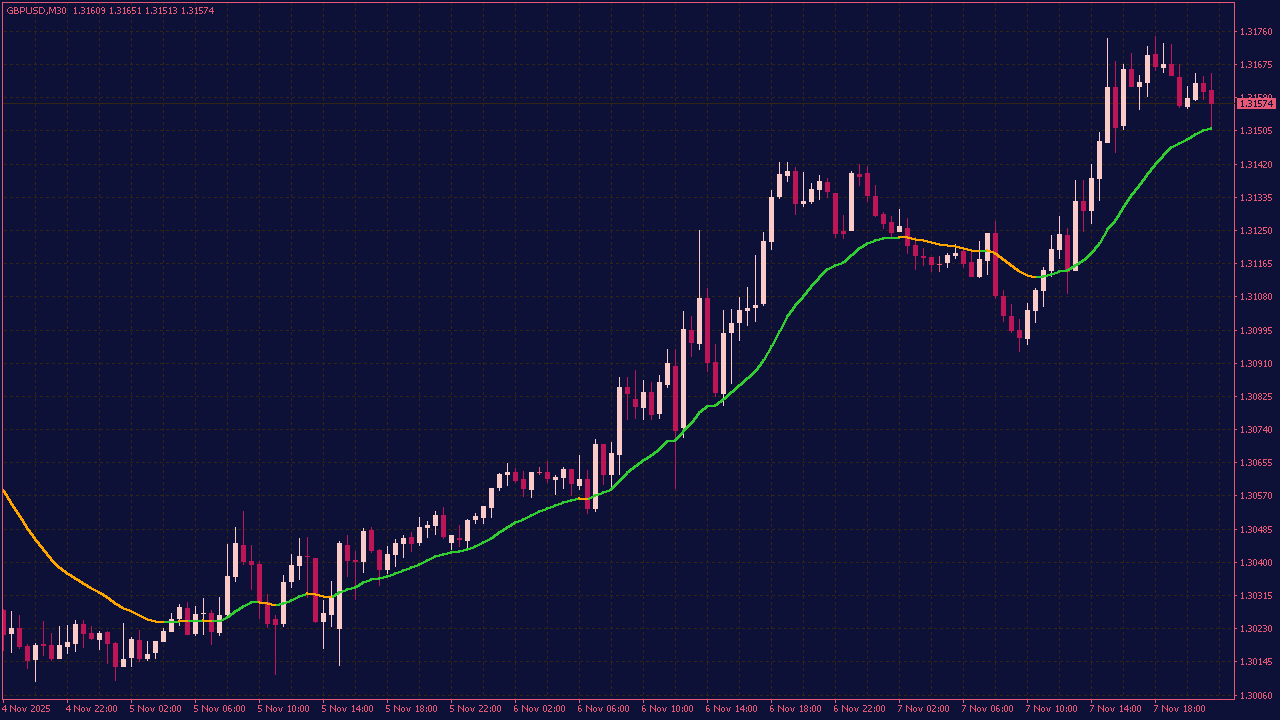
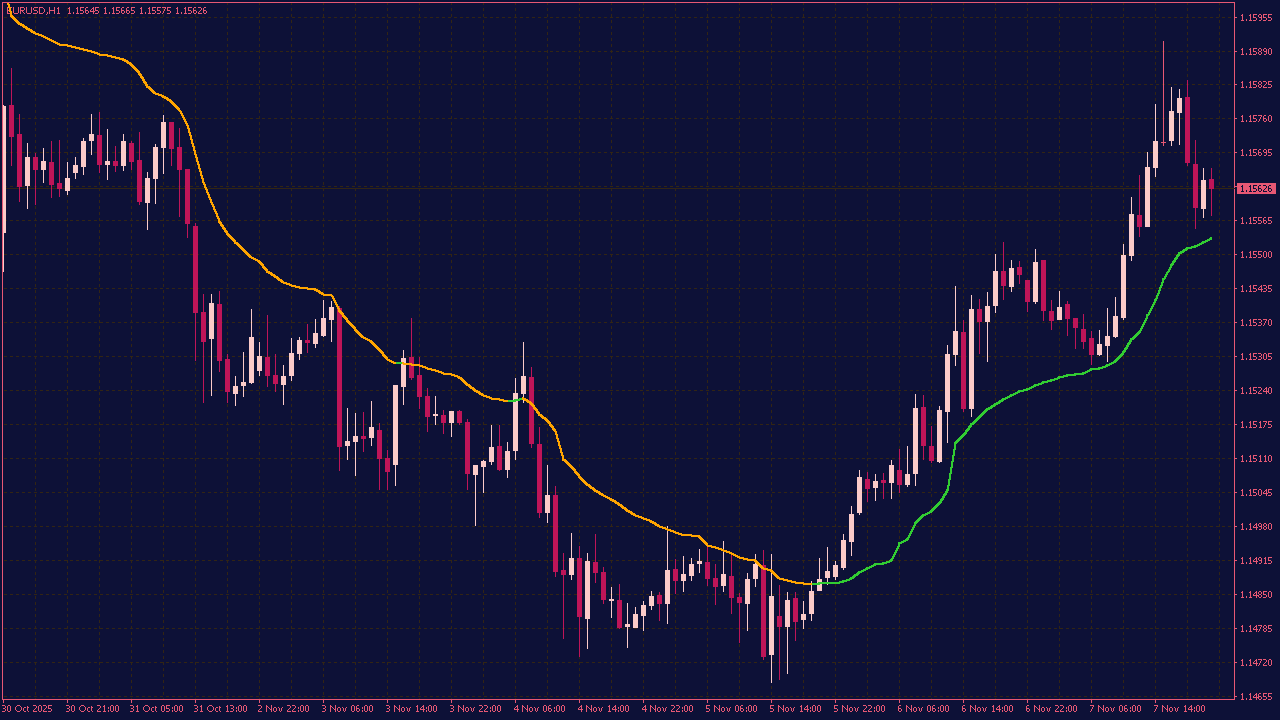
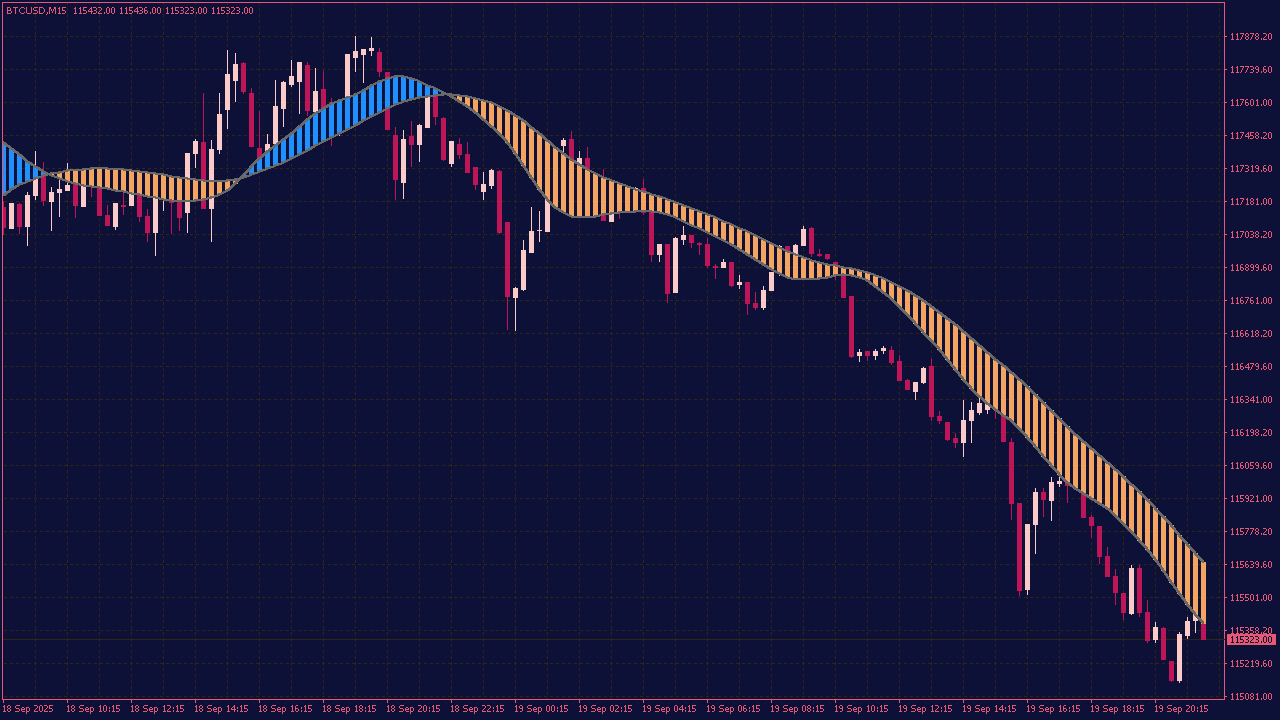
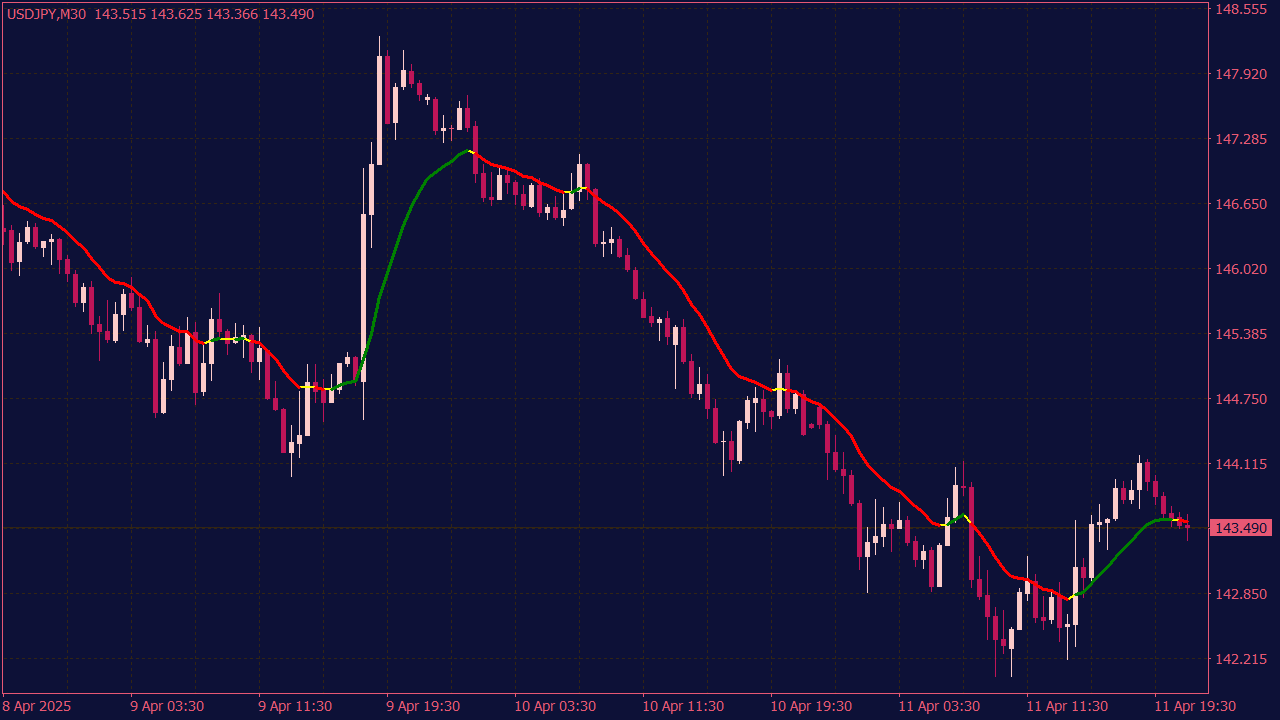
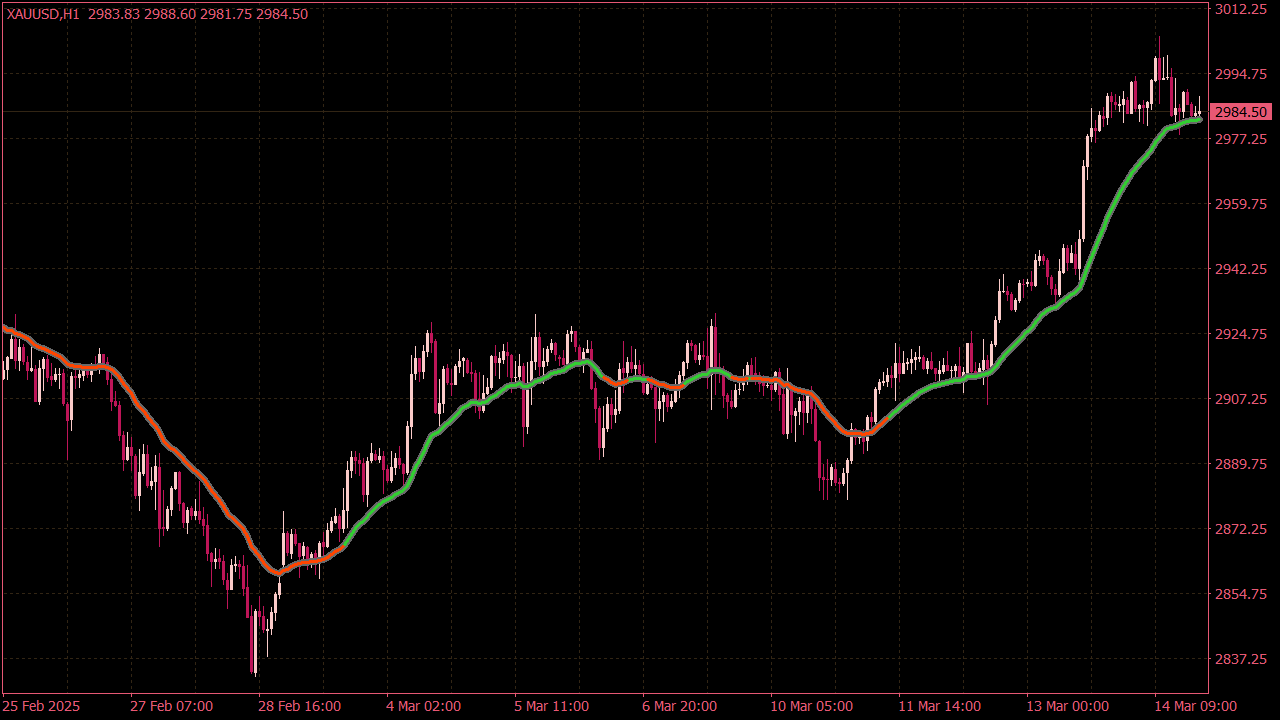
The MA Neon Indicator gives the classic moving average a more modern and practical look. Instead of placing another plain line on the chart, it uses a soft neon effect and changing colors to make the current trend easier to follow. You can adjust the calculation, period, price source, and timeframe to match the way you trade. The indicator can also be shown or hidden directly from the chart, which is useful when you want to compare a clean price view with the active trend display. What makes it interesting is not only the glow itself, but the moment its direction or color begins to change. Sometimes that shift simply confirms what price is already doing. At other times, it may be the first reason to take a closer look.
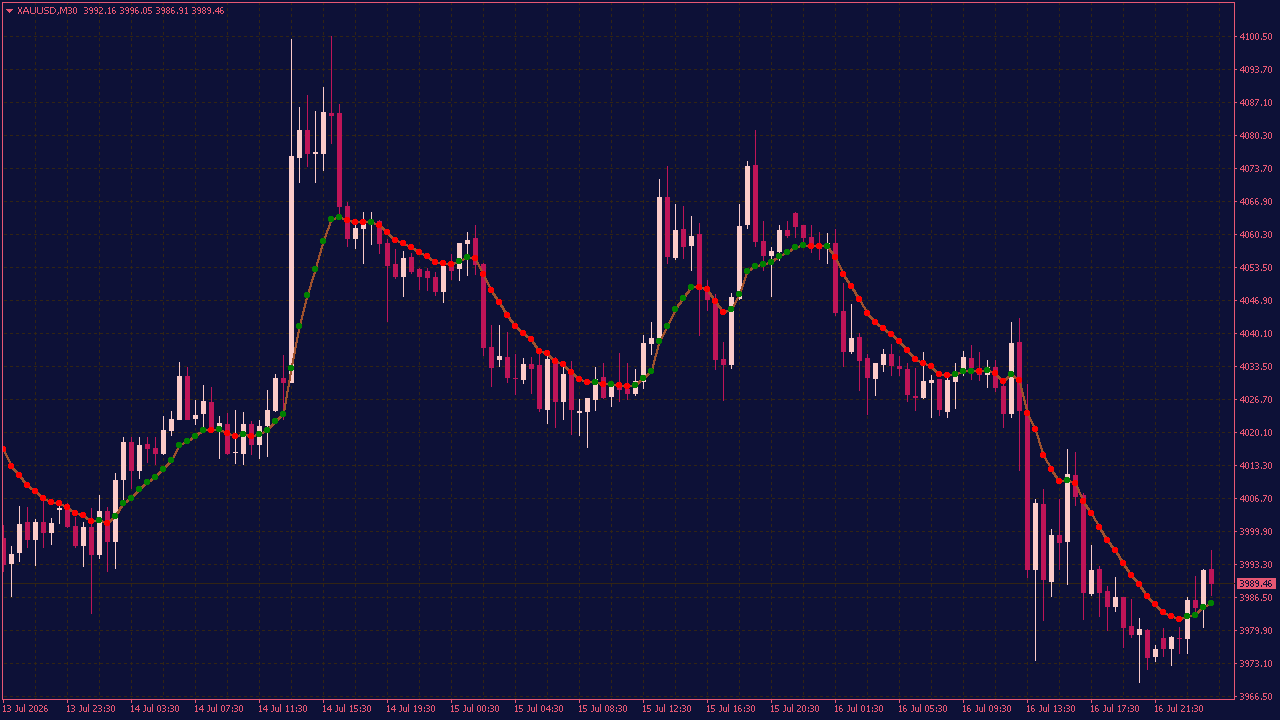
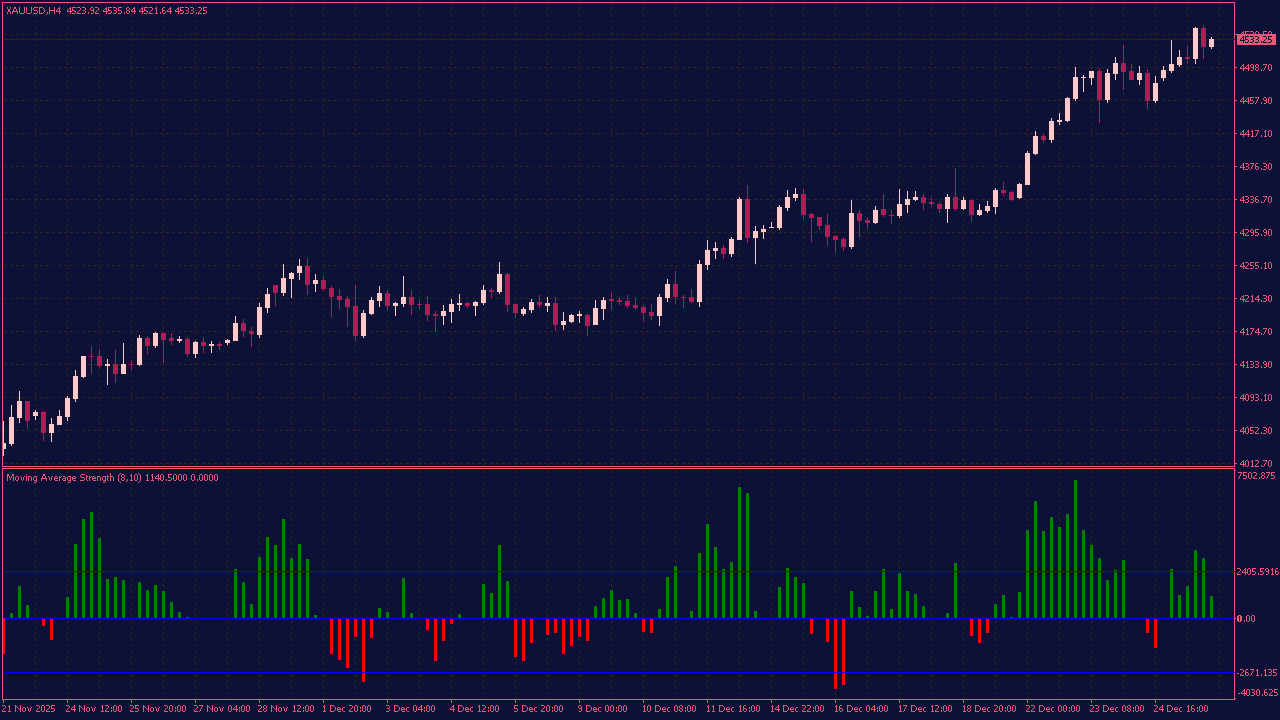
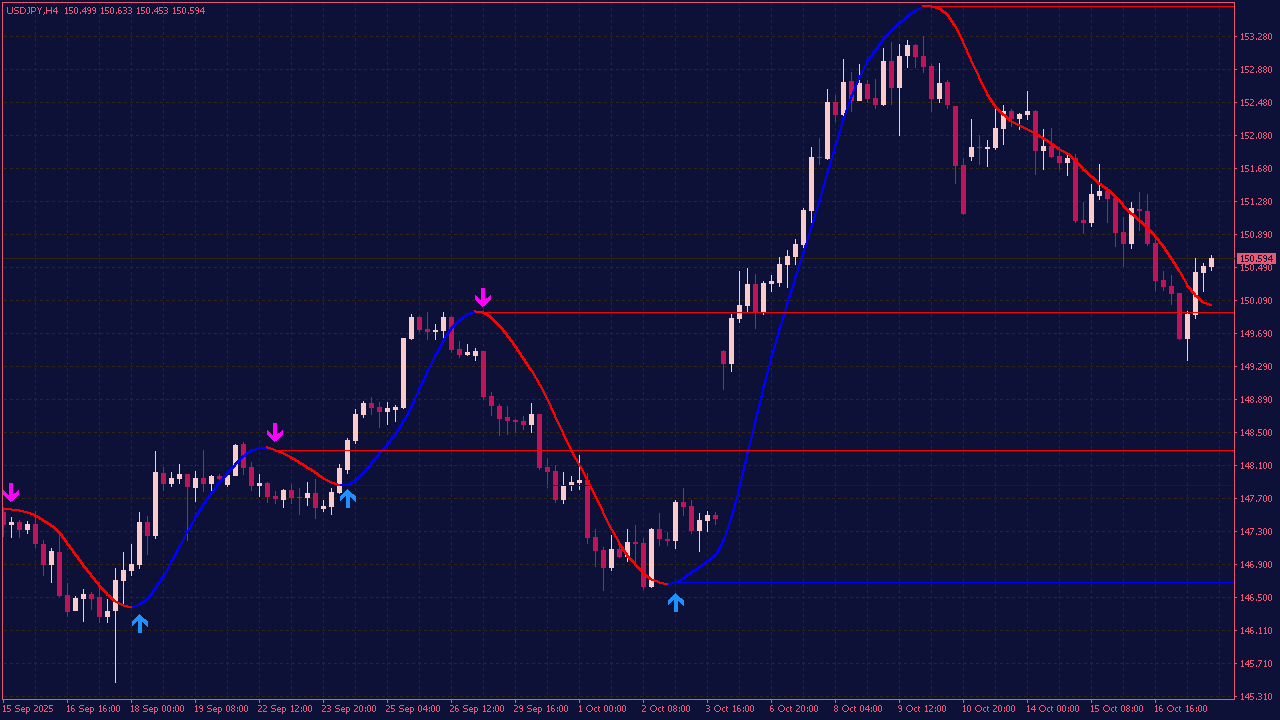
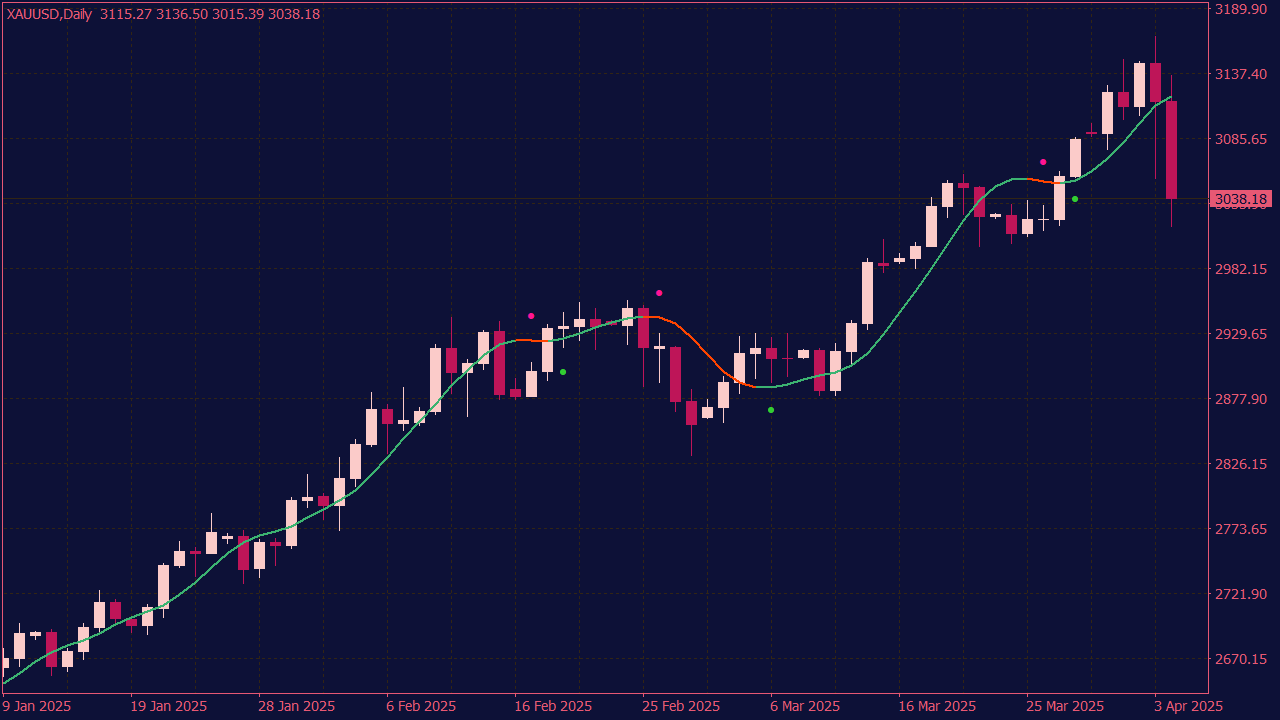
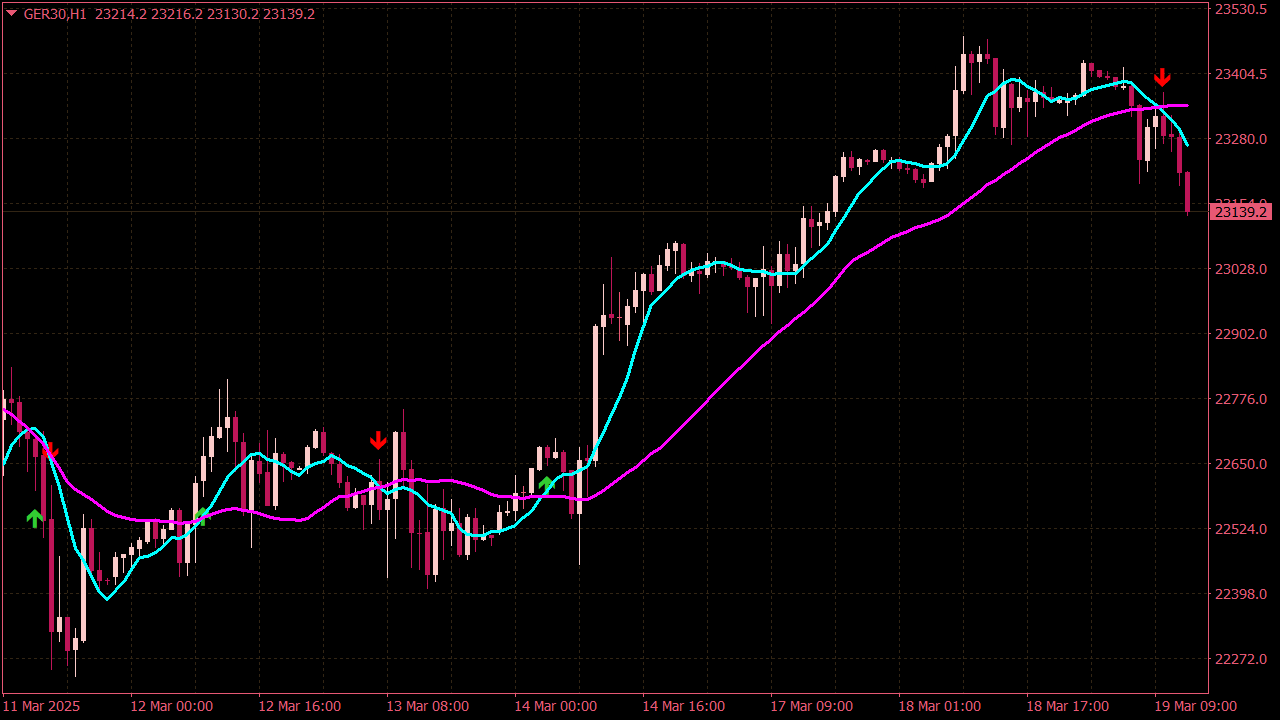
The AMA & AMAsig Indicator helps you spot changes in market direction without turning your chart into a confusing collection of lines and signals. It adapts to price movement and makes it easier to see when momentum may be starting to shift. Bullish and bearish signals appear directly on the chart, giving you a clearer view of what buyers and sellers are doing. It is simple enough to understand at a glance, but still useful when you want an additional confirmation before making a trading decision. Some market moves begin quietly, long before they attract attention. A small change in momentum can sometimes tell a much bigger story—and this indicator helps you notice where that story may be starting.
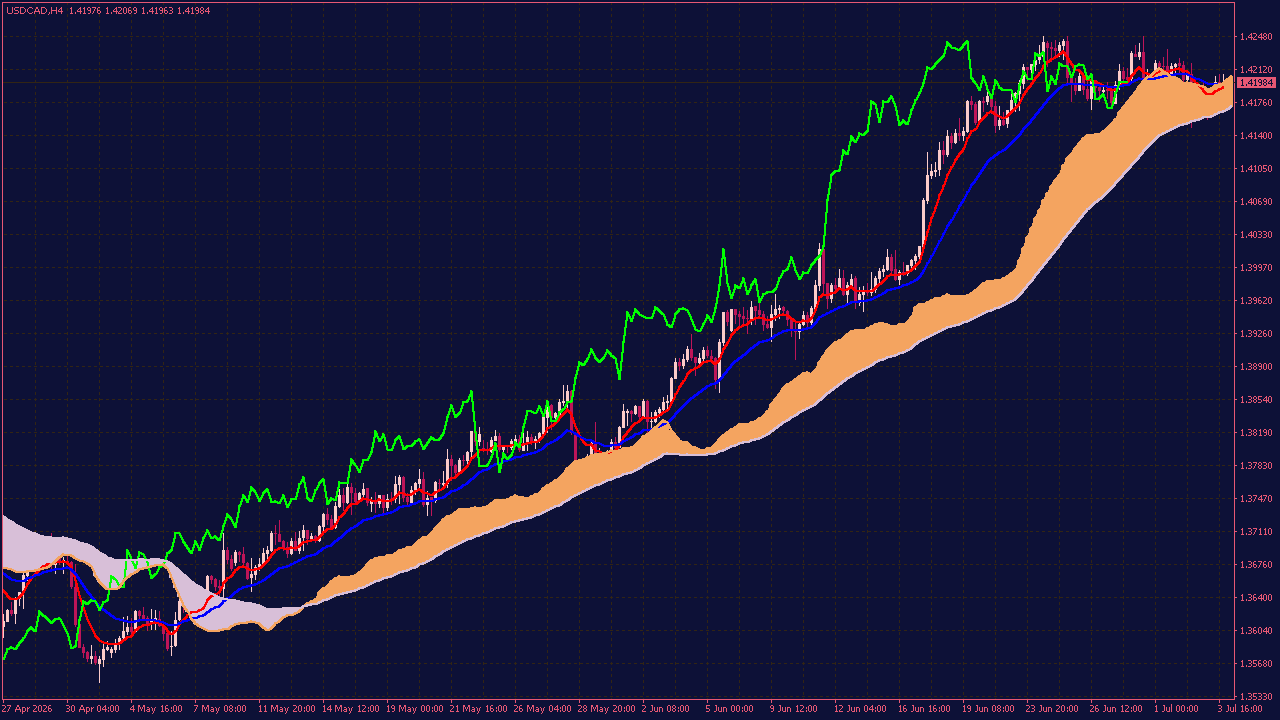
The Ichimoku Moving Average Indicator gives traders a deeper look into market momentum and price structure. Instead of relying only on simple price movement, it uses Ichimoku-style lines and moving average logic to create a more complete technical view. Every trend has a story behind it. Sometimes the first signs of strength or weakness appear long before the market makes its next clear move. By showing dynamic levels, trend signals, and potential reaction areas, this indicator can help traders analyze the market with more confidence and discover setups that may otherwise be missed.
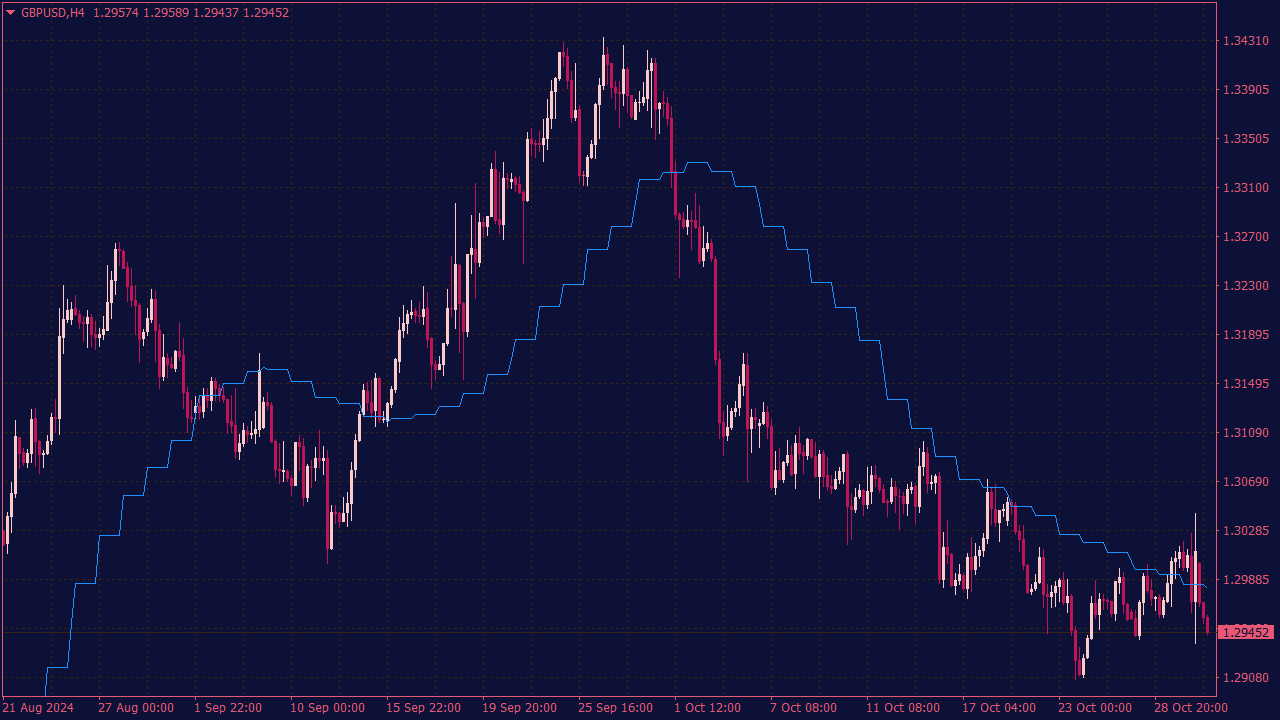
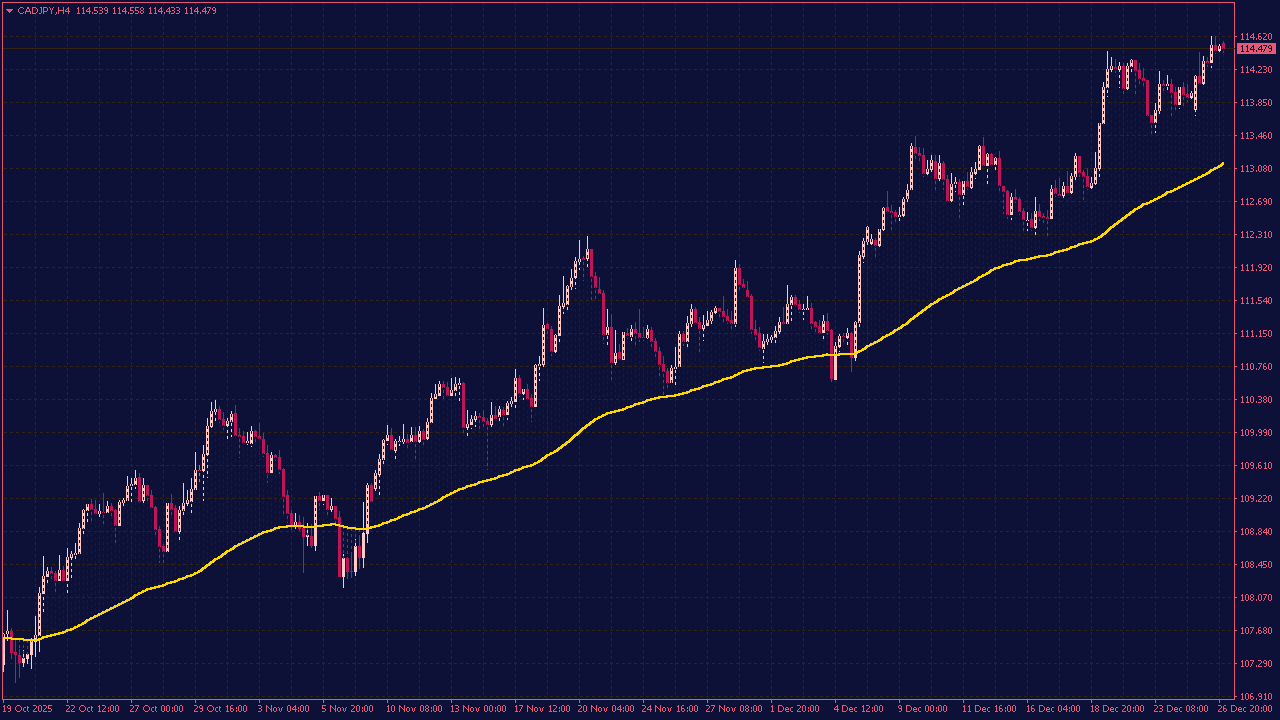
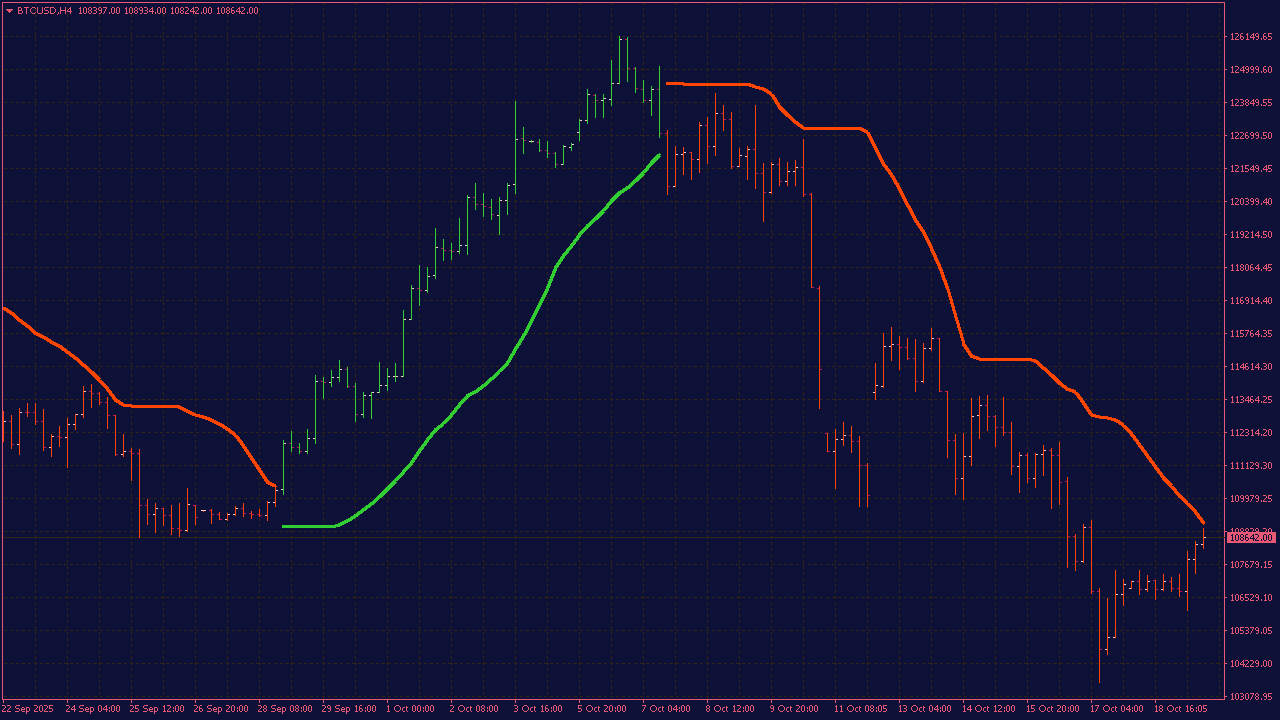
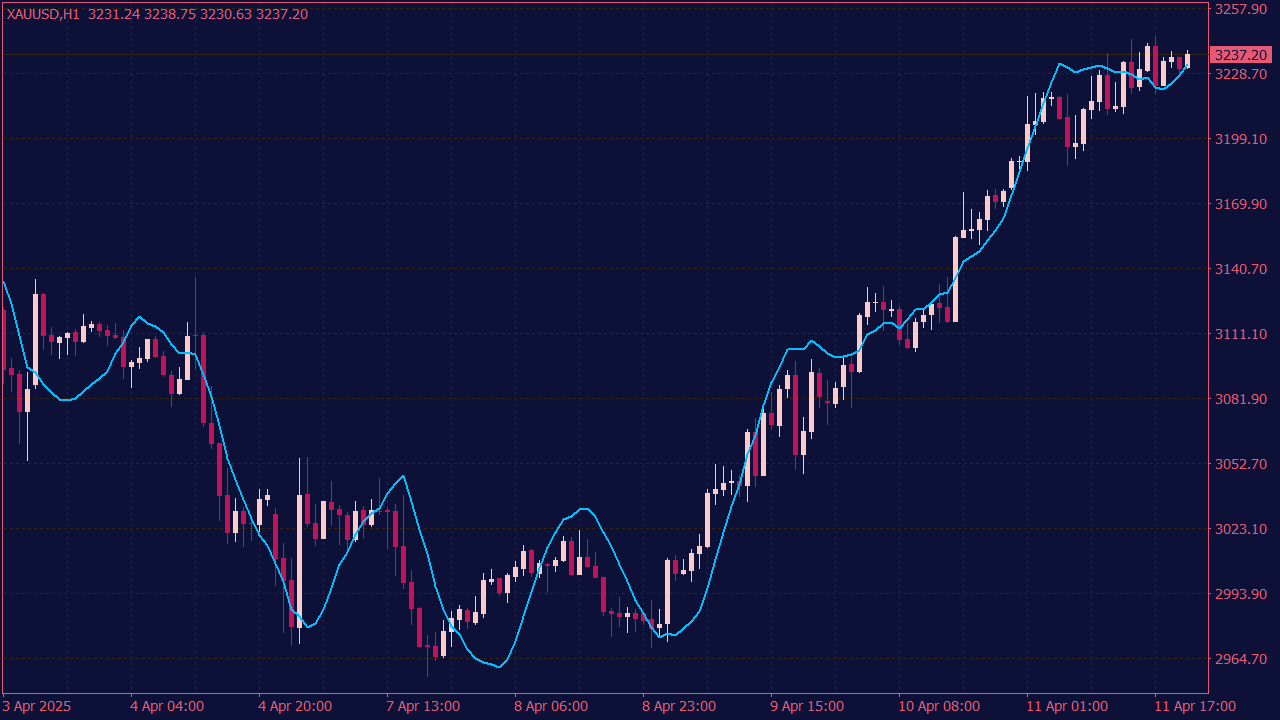
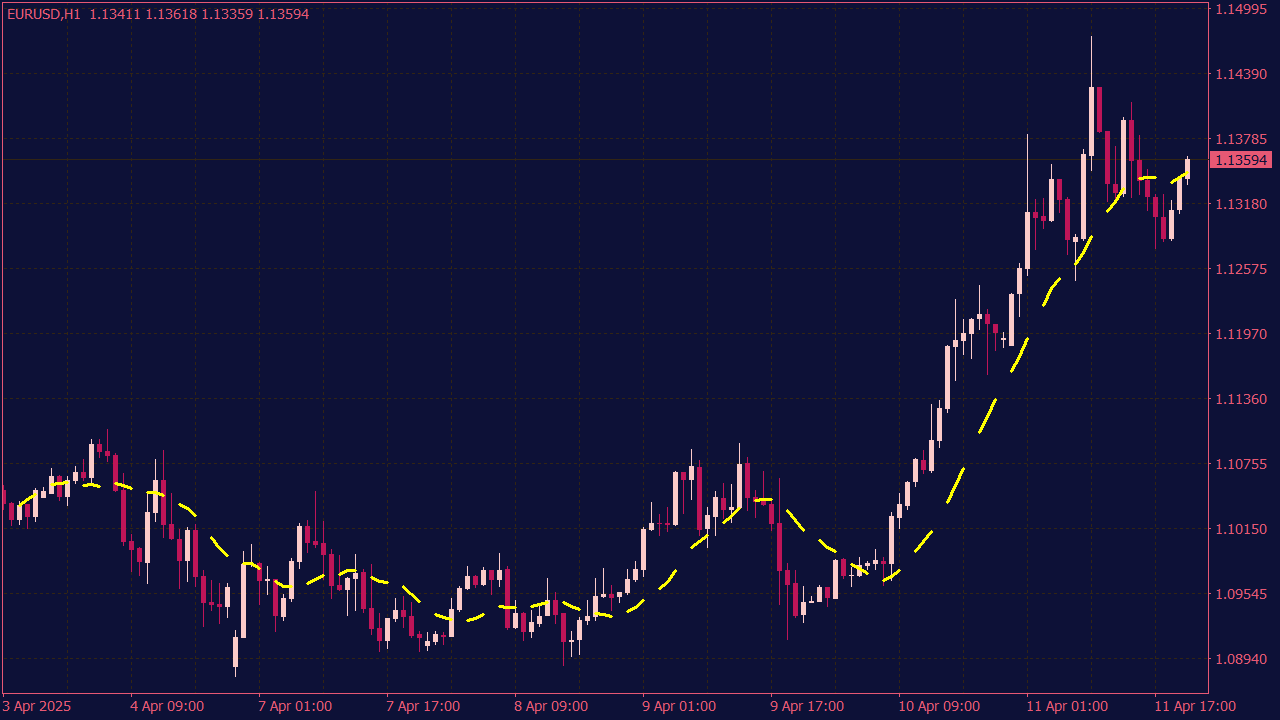
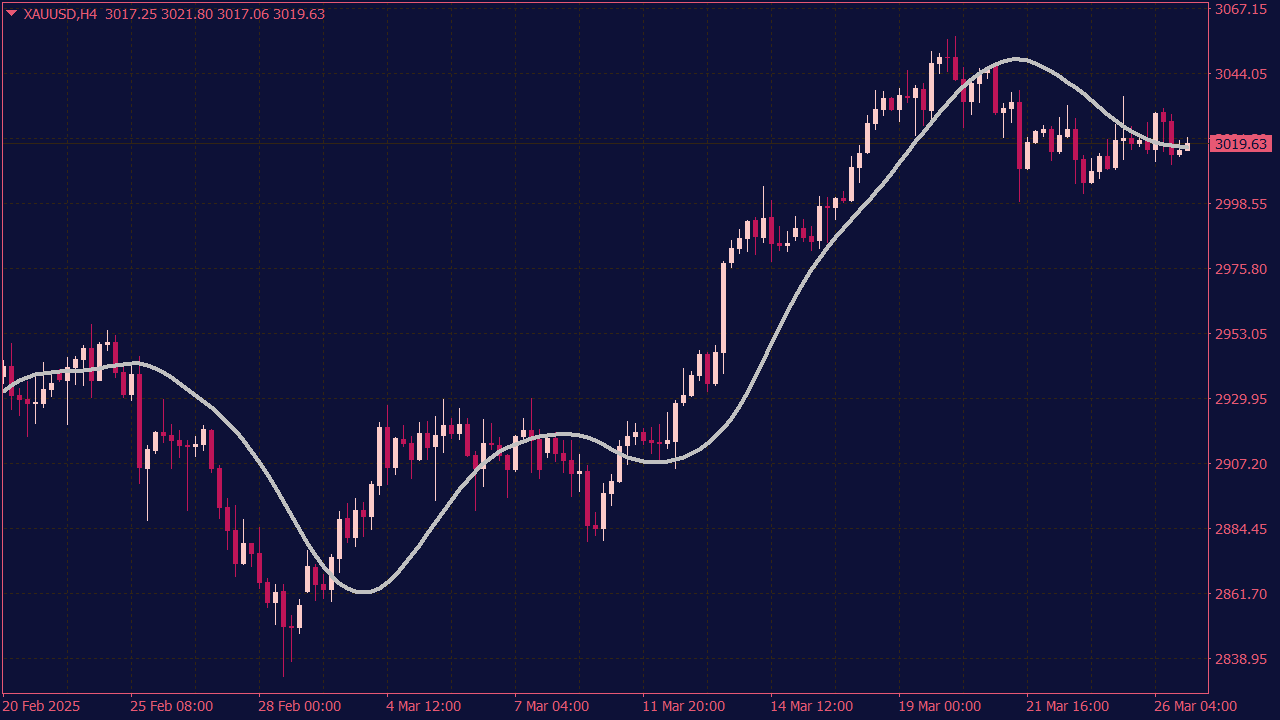
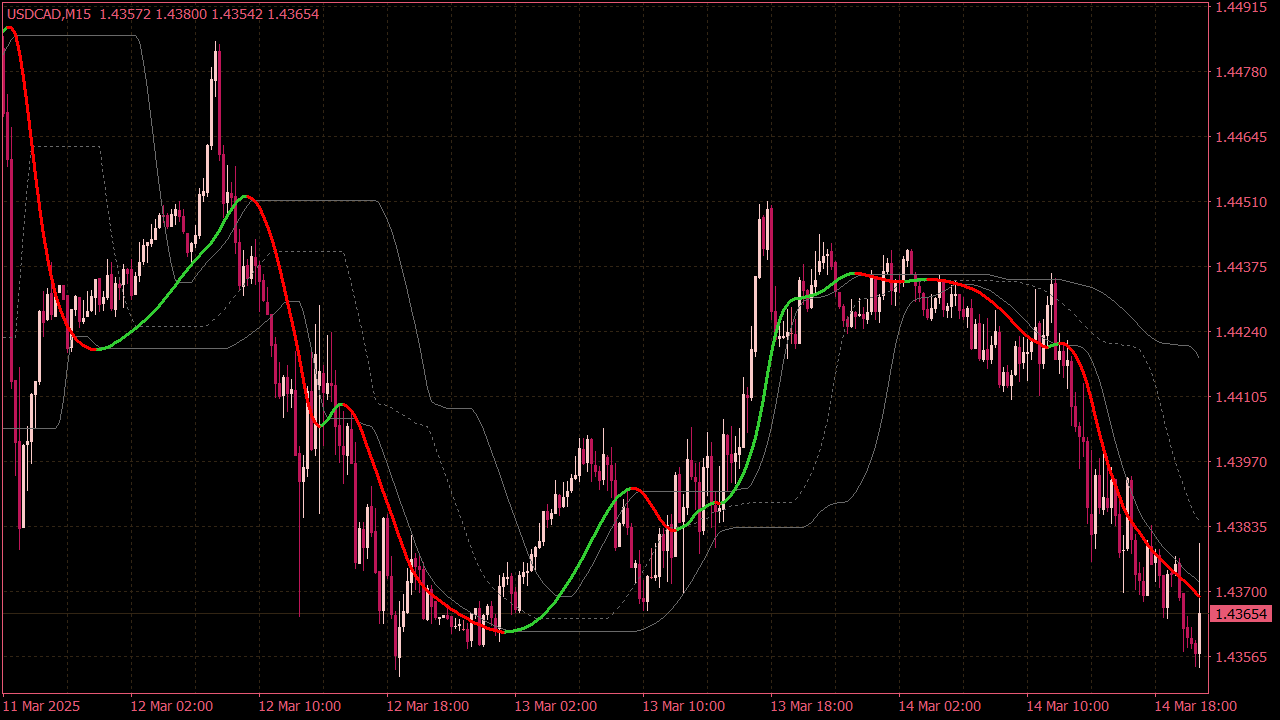
The Low Frequency Filter Moving Average (LFFMA) is a smooth trend indicator that helps traders see the market from a calmer perspective. It filters out many smaller price fluctuations, making the main direction easier to follow. The idea behind LFFMA is simple: not every price move deserves your attention. Sometimes the market looks active, but there is no real direction behind it. This indicator helps separate normal market noise from movement that may actually matter. LFFMA can be useful for trend-following setups, cleaner chart analysis, and watching how price reacts around a filtered average. When price starts to separate from the line, it is worth paying attention — that quiet shift may tell you more than a fast signal would.
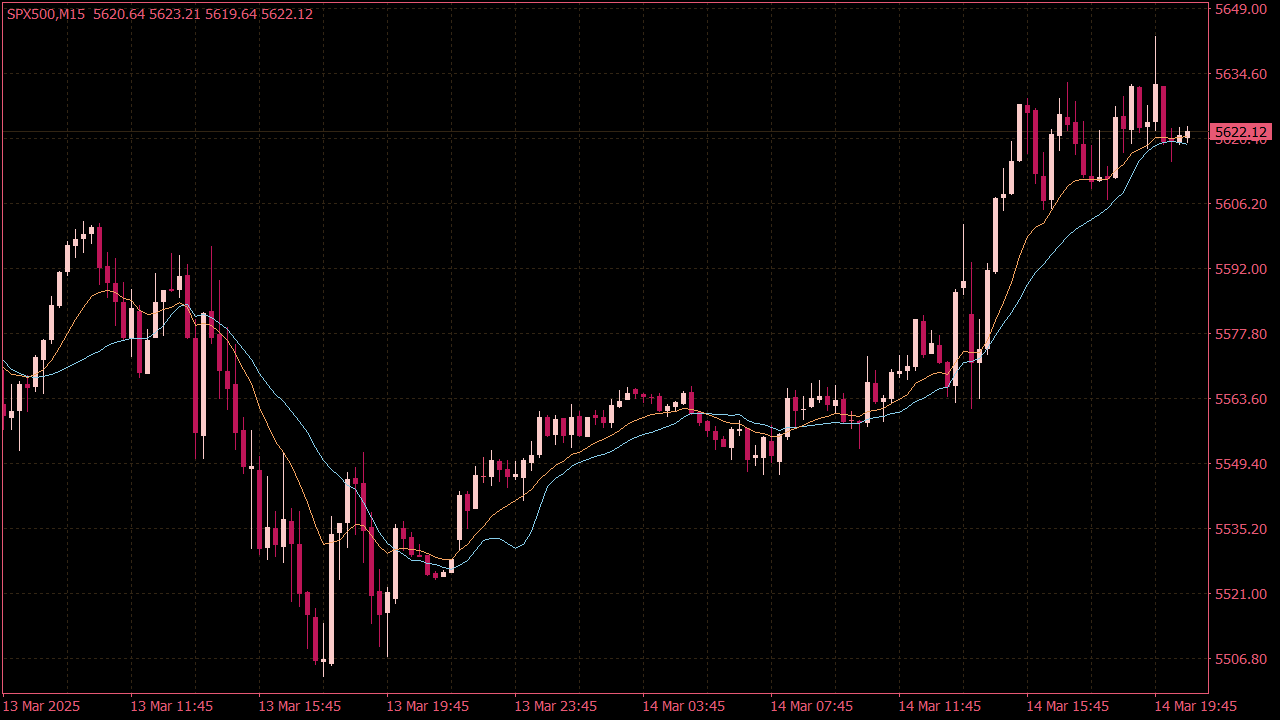
The Moving Average Multi-Timeframe (MTF) Indicator is a technical analysis tool that displays moving averages from different timeframes on a single chart, allowing traders to identify trends and potential reversals across various scales. A typical trading strategy using the MTF Moving Average could involve entering a long position when a shorter-term moving average (e.g., 10-period) crosses above a longer-term moving average (e.g., 50-period) on higher timeframes, confirming an uptrend. Conversely, a short position could be initiated when the shorter moving average crosses below the longer one, indicating a downtrend. Traders can further enhance this strategy by incorporating additional technical indicators like RSI or MACD for confirmation, setting stop-loss orders to manage risk, and taking profit at key support or resistance levels.
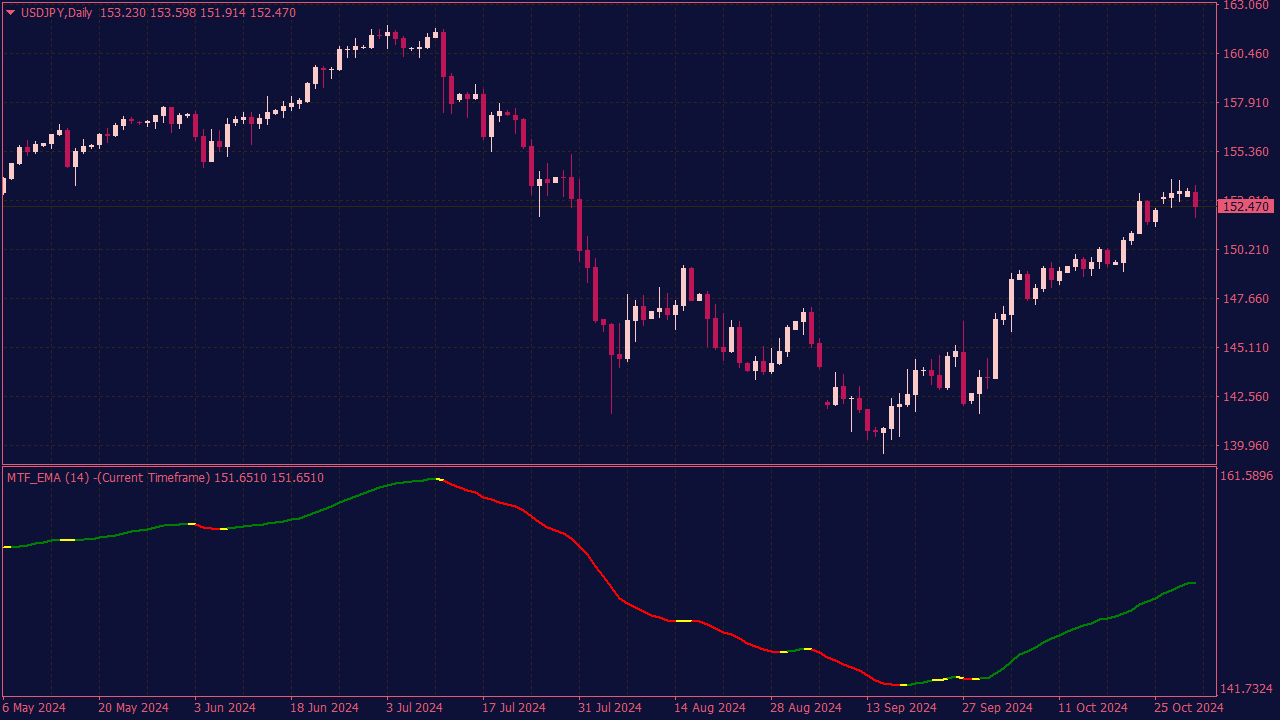
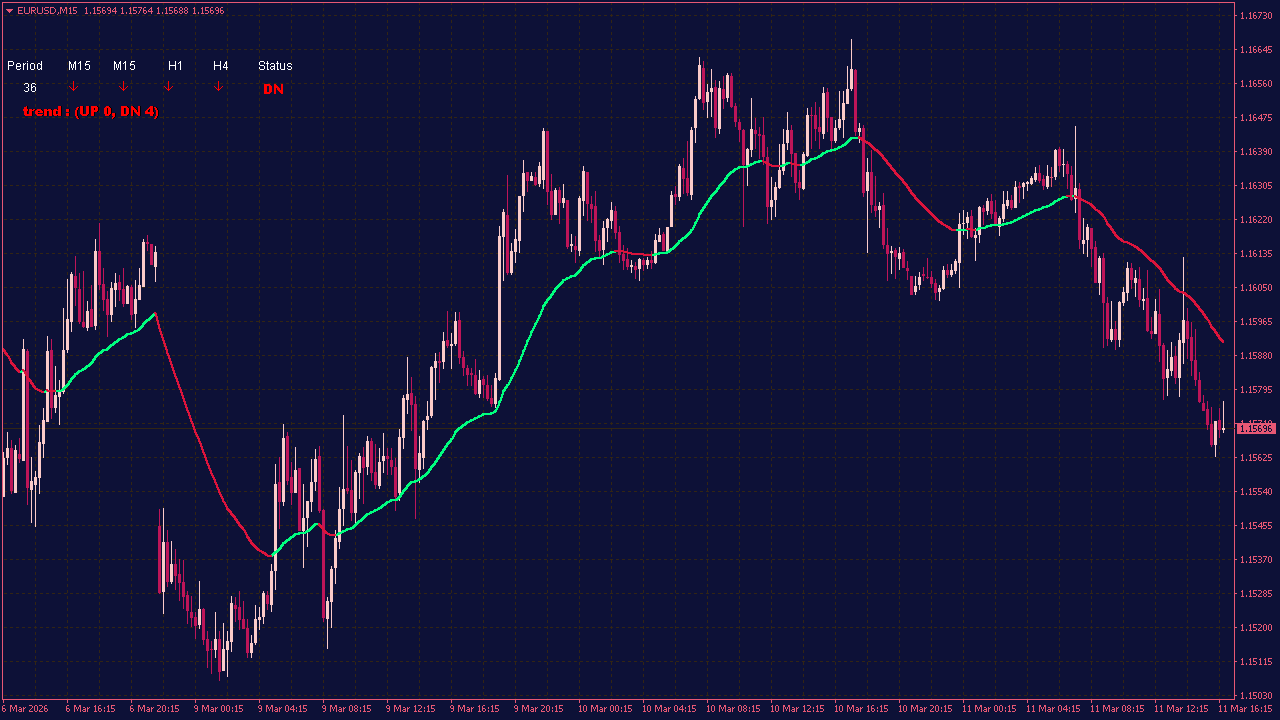
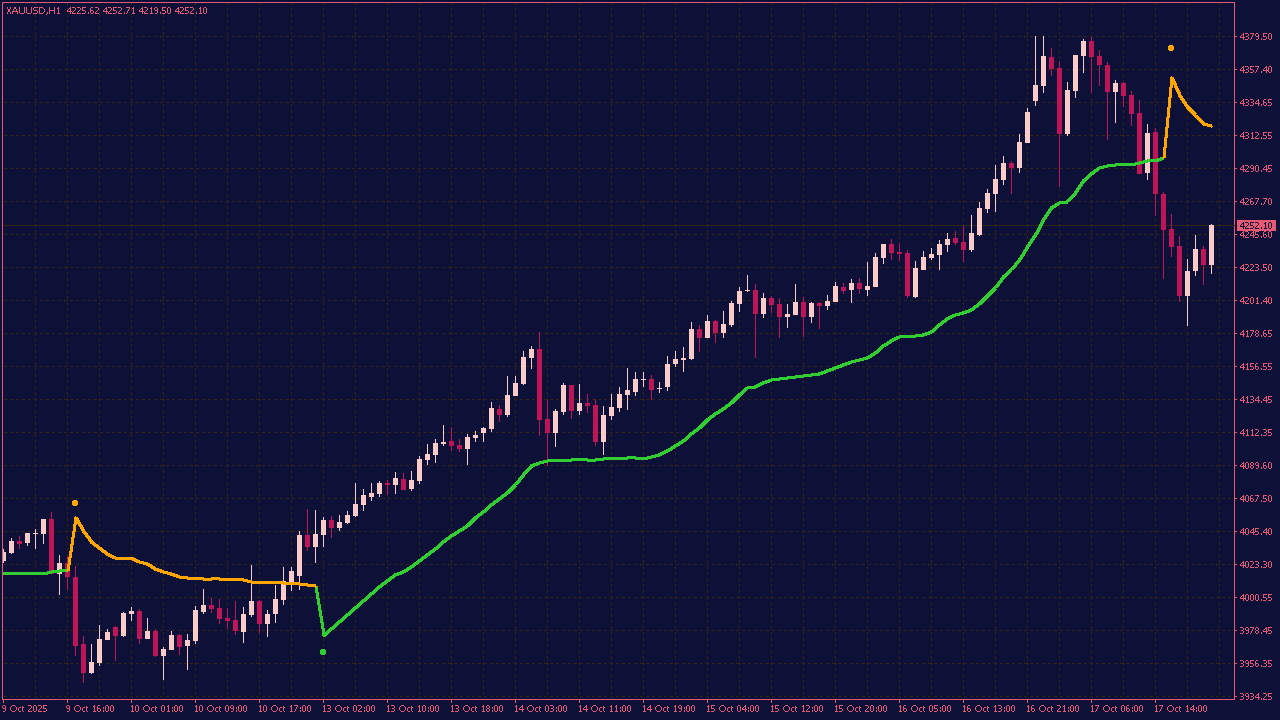
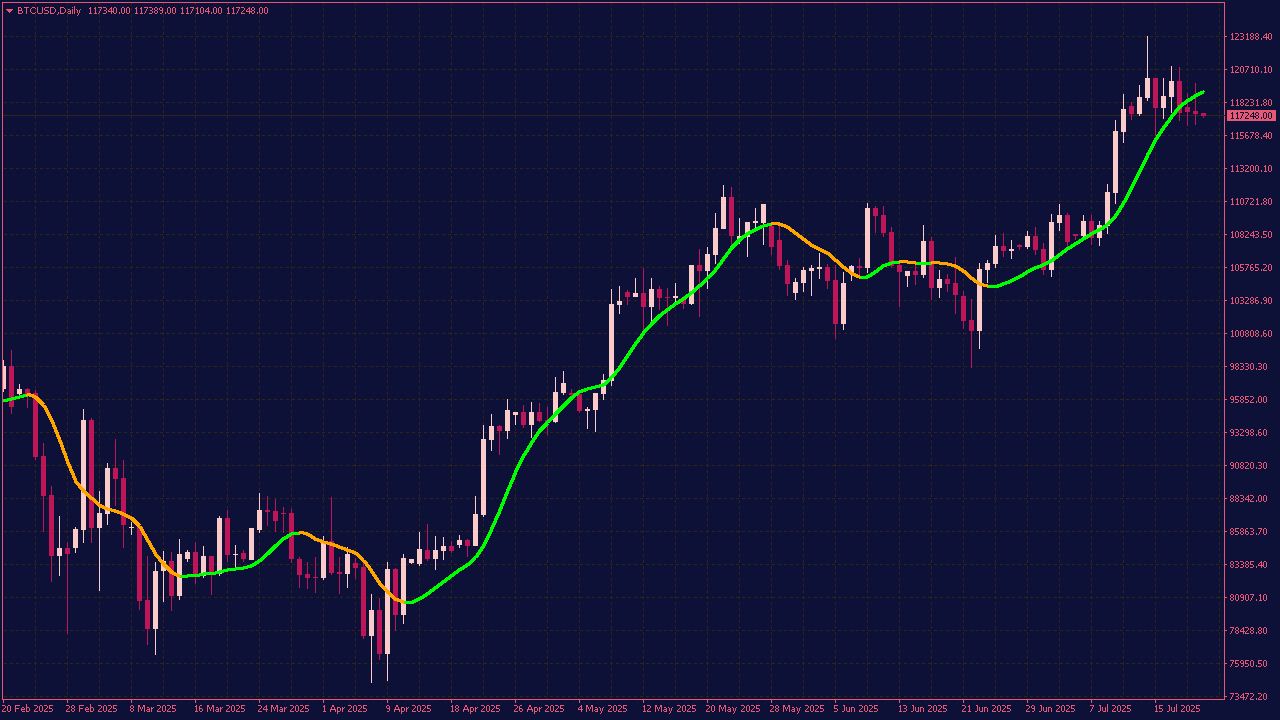
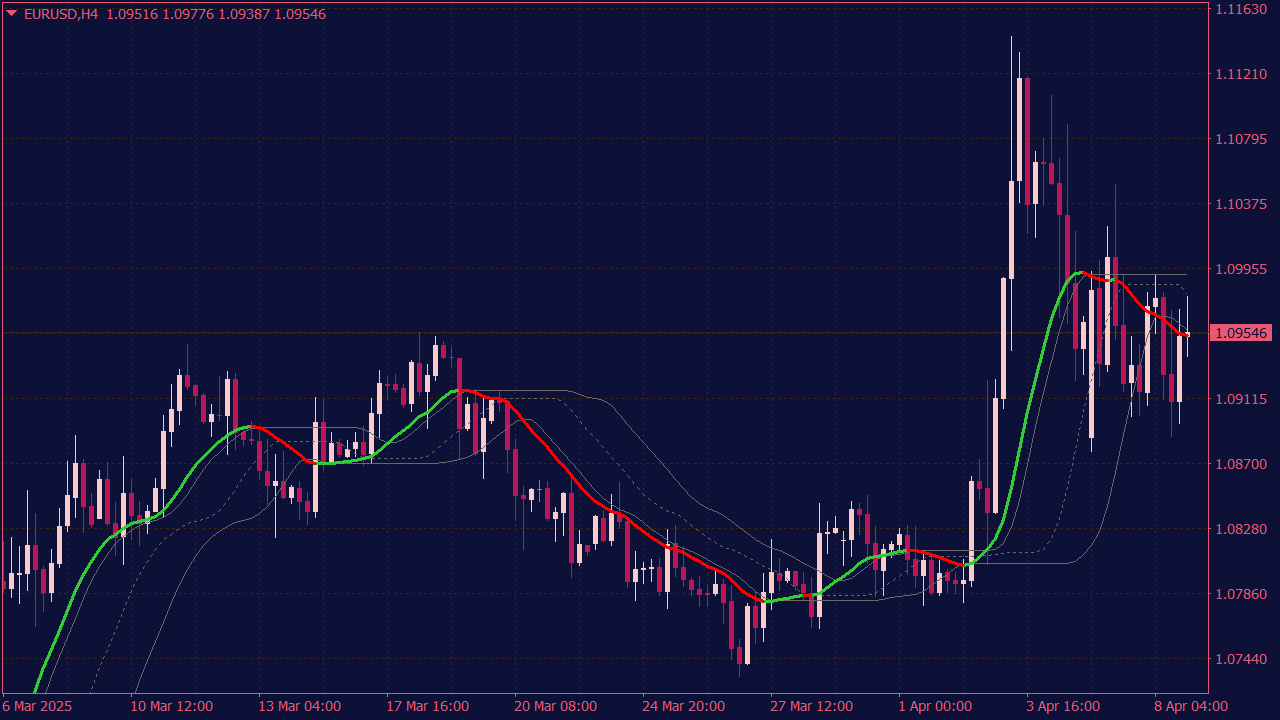
The MA (Moving Average) MTF (Multi-Time Frame) Color Indicator is a popular tool in trading platforms that provides signals based on the convergence of moving averages across multiple time frames. It typically colors the indicator line according to the prevailing trend (for example, green for a bullish trend and red for a bearish trend). Traders use these color changes as potential buy or sell signals, with additional confirmation from other indicators or price action analysis for better accuracy. It can be particularly useful for identifying trends and reversals, aiding in decision-making on entries and exits in the trading strategy.
Moving Averages (E-Averages) Indicator with Dashboard
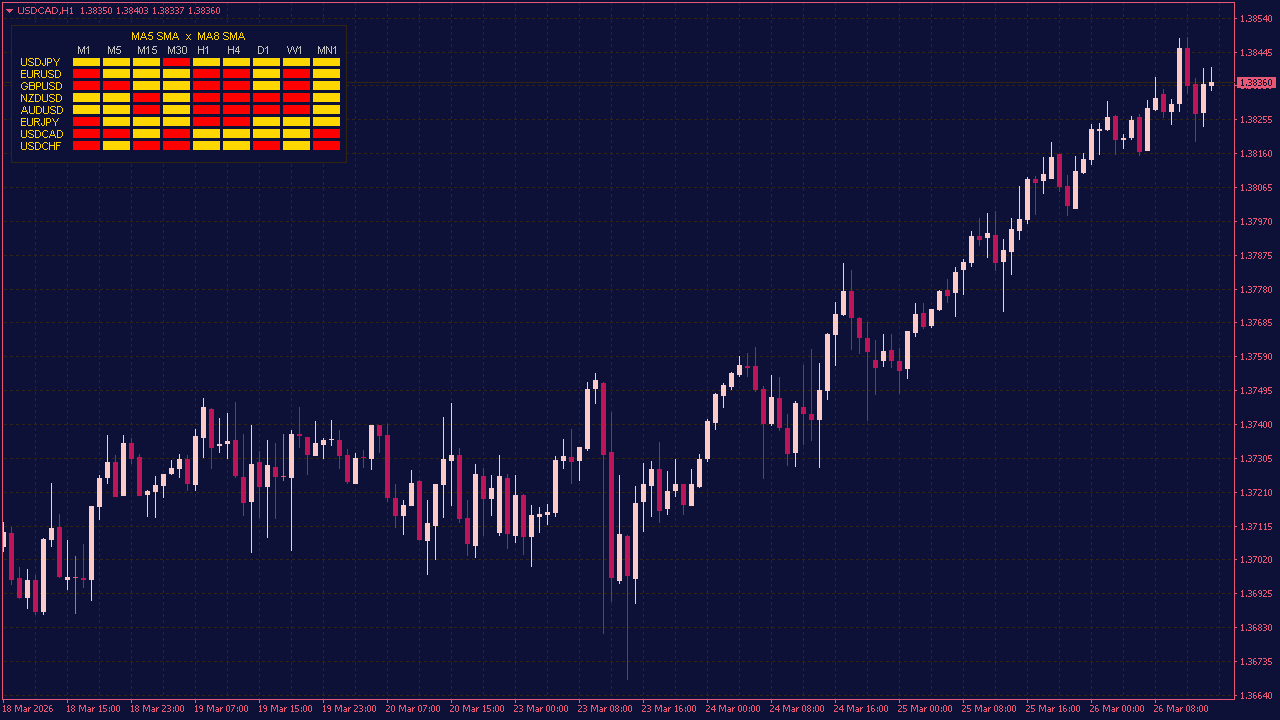
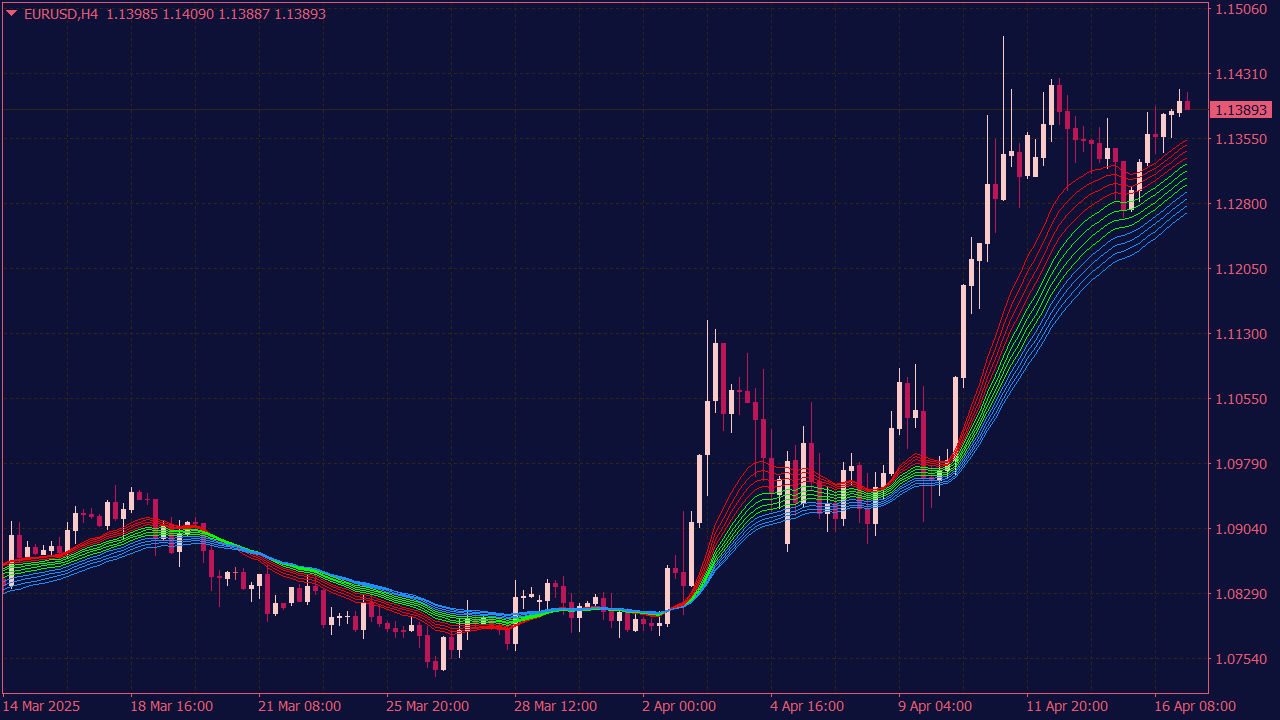
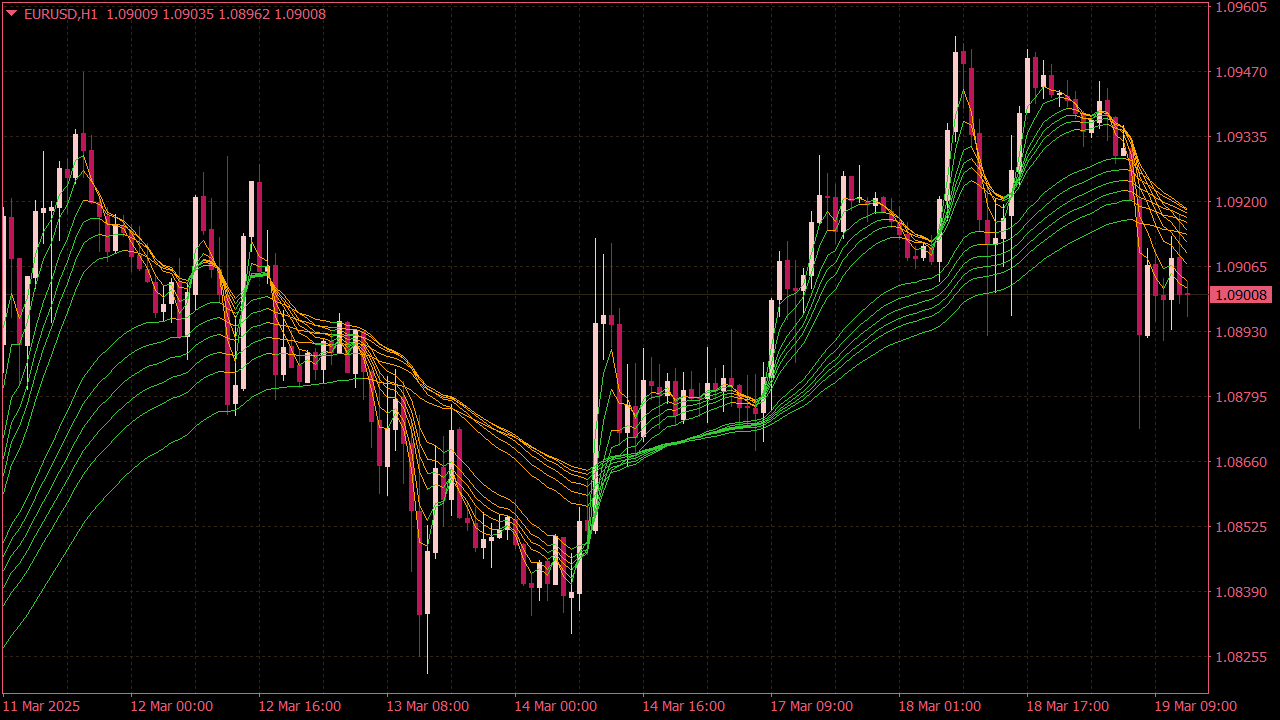
The E-Averages with Dashboard is a powerful and flexible indicator that combines a large collection of moving average algorithms in one tool. It allows traders to select different smoothing methods and price inputs to analyze trend direction and reduce market noise. The built-in dashboard provides a clear overview of selected averages and signals, helping traders quickly monitor trend conditions across settings and improve decision-making.
📈 Moving Averages in Forex: What the Line Doesn’t Show You
Moving averages are one of the first tools most forex traders add to a chart. They are simple, clean, and easy to understand at first glance. A 20 EMA can show short-term rhythm. A 50 EMA can help frame the trend. A 200 EMA often marks a level where many traders start paying attention.
But that simplicity can be misleading.
Too many traders treat a moving average as if it were a signal by itself. Price above the line means bullish. Price below the line means bearish. A crossover appears, and the trade suddenly looks obvious.
The market is rarely that generous.
A moving average does not predict the next move. It does not know when a central bank headline is coming, when liquidity is thin, or when a breakout is about to fail. What it can do is help you read the condition of the market. Is price trending or ranging? Is the move stretched? Are traders getting trapped? Is the market accepting a level, or simply sweeping it before reversing?
That is where moving averages become useful — not as a shortcut, but as a reference point.
The setups below are not mechanical buy-or-sell signals. They are ways to read price behavior around moving averages with more context and less emotion.
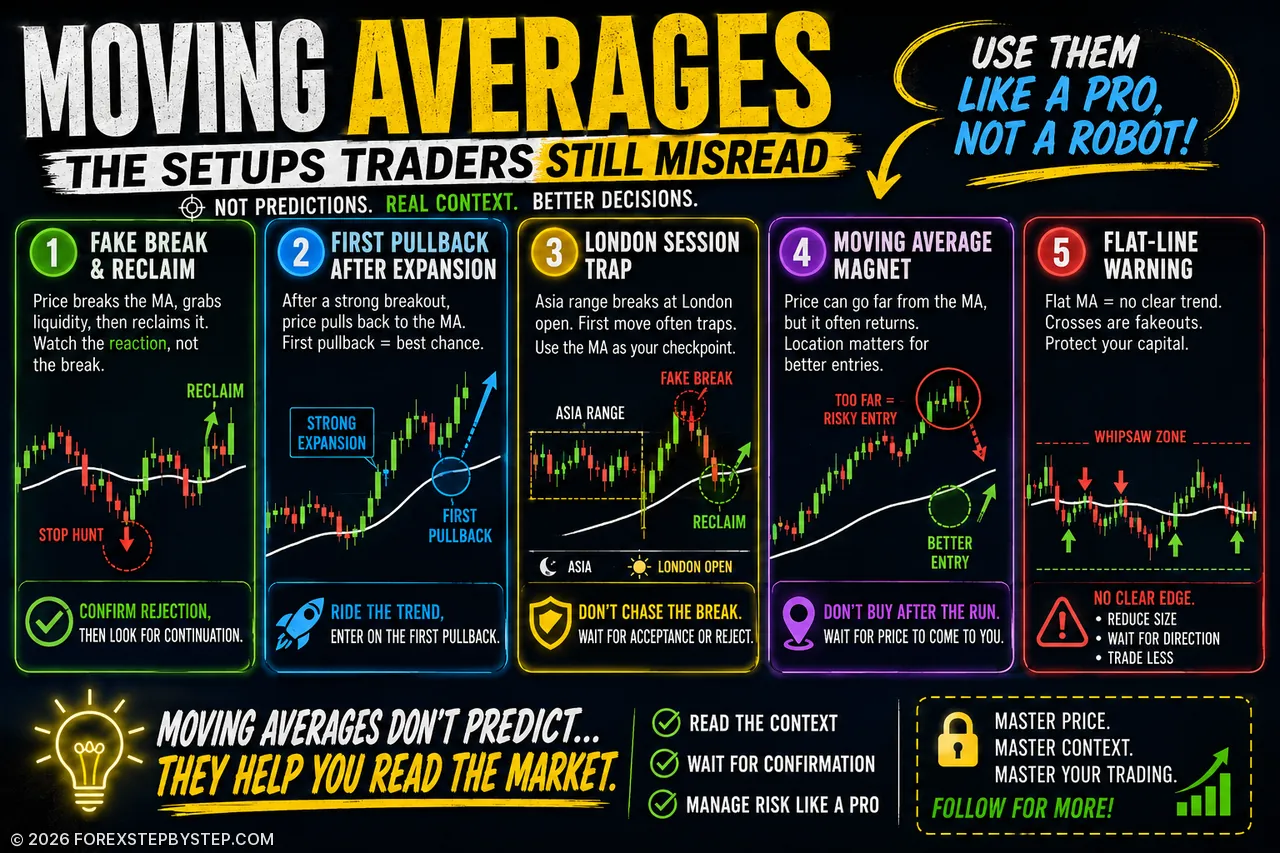
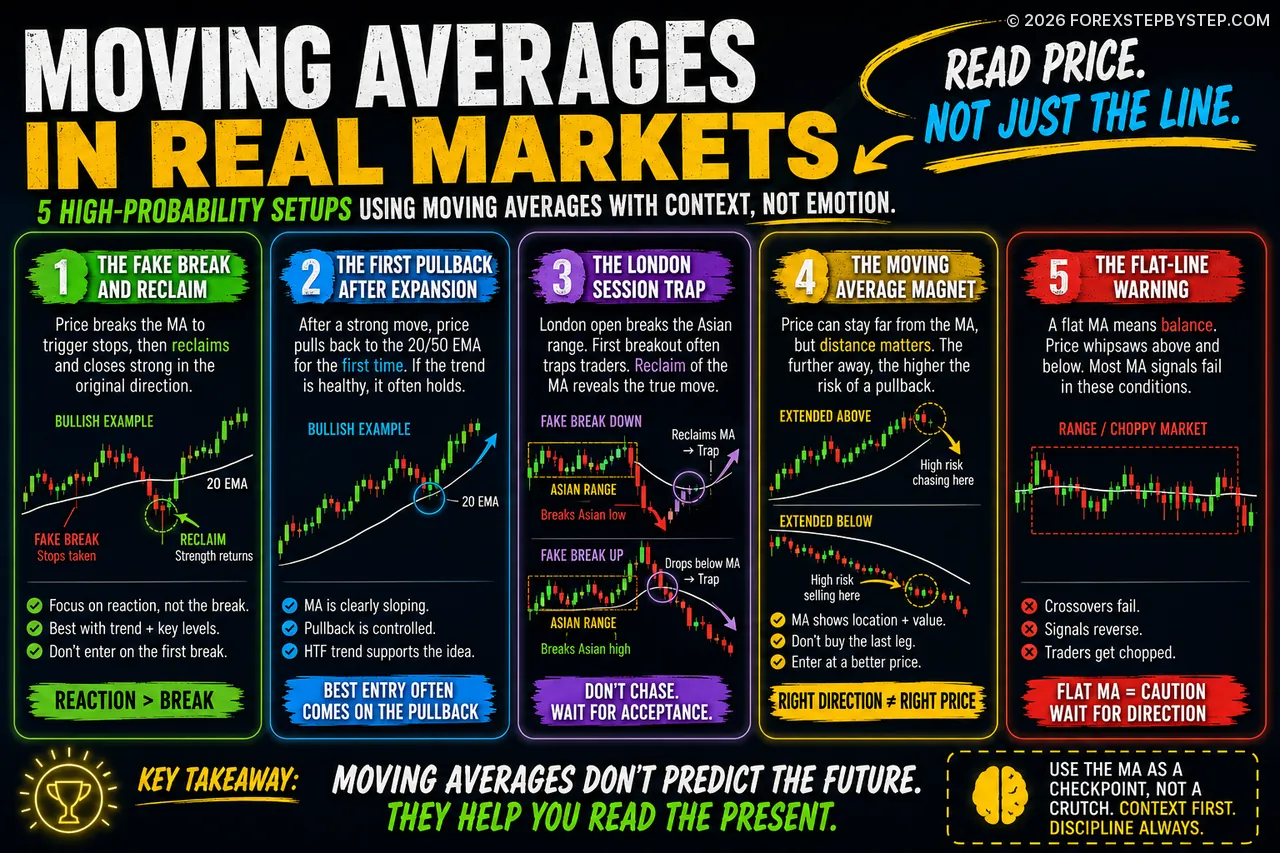
🎯 1. The Fake Break and Reclaim
One of the most useful moving average setups starts with something that looks like a failure.
Price breaks below a moving average, and the chart suddenly looks weak. Traders who were long start to question the position. Some close early. Others see the break as a short opportunity.
Then price climbs back above the same moving average and closes with strength.
That reclaim is the part worth studying.
The first break may not have been genuine selling pressure. It may have been a liquidity move — a push below a visible level to trigger stops, invite late sellers, and test whether the market really wants to continue lower.
In a bullish environment, a short break below the 20 EMA or 50 EMA is not always a trend change. Sometimes it is just a shakeout before continuation.
The reverse can happen in a downtrend. Price pushes above the moving average, attracts buyers, then drops back below it. Once those buyers are trapped, the next move lower can develop quickly.
What matters:
The reaction after the break
The strength of the reclaim
Whether the higher-timeframe trend supports the move
Whether the break happened near a visible liquidity level
The mistake is reacting to the first break as if it tells the whole story. Often, it does not.
🔁 2. The First Pullback After Expansion
Strong trends do not usually move in a straight line. They expand, pause, pull back, and then reveal whether momentum is still alive.
That first pullback after a strong move is often one of the cleanest moments on the chart.
After price breaks out with momentum, the moving average begins to catch up. If price returns to the 20 EMA or 50 EMA for the first time and holds, the area can become a useful continuation zone.
The first pullback is often cleaner than the third or fourth. By the time a setup becomes obvious to everyone, the best part of the move may already be gone.
A good first-pullback setup usually has a few signs:
The moving average is sloping clearly
Price returns in a controlled way
The pullback does not completely erase the breakout
The higher timeframe is not fighting the trade idea
The goal is not to chase strength. The goal is to let the market come back to a better location.
🇬🇧 3. The London Session Trap
The London open can be unforgiving, especially for traders who jump on the first move.
During the Asian session, many major pairs build a narrow range. The high and low of that range become obvious. Stops collect on both sides. When London opens, price often breaks one side of the range with speed.
That first move can be real. It can also be bait.
For example, price may break below the Asian low, attract sellers, and then quickly reclaim a short-term moving average. If that reclaim happens with conviction, the downside break may have been a liquidity sweep rather than the start of a clean sell-off.
The same idea applies above the Asian high. Price breaks up, buyers enter, and then the market falls back below the moving average. What looked like strength becomes a trap.
The moving average is not the reason to enter. It is the checkpoint.
The better question is: Did the market accept the breakout, or reject it?
That question is far more useful than simply asking whether price crossed the line.
🧲 4. The Moving Average Magnet
Price can move far away from its average. In strong markets, it can stay extended for longer than expected. Still, distance matters.
When price is far above a moving average, the market may still be bullish, but the entry may no longer be attractive. When price is far below the average, the market may still be bearish, but selling late can expose the trader to a sharp pullback.
This is where many traders get caught. They see a large candle, feel pressure to enter, and join the move at the worst possible location. A few candles later, price returns toward the average, and the trade is immediately uncomfortable.
A moving average helps measure location, not just direction.
A weak question is: Is the trend up?
A better question is: Am I entering at a reasonable price, or am I buying after the easy part of the move is already gone?
Good traders care about direction. Better traders care about direction and location.
⚠️ 5. The Flat-Line Warning
A flat moving average is not neutral. It is a warning.
When a moving average loses its slope and price keeps crossing above and below it, the market is usually balanced. Buyers and sellers are both active, but neither side has clear control.
This is where moving average strategies often perform badly. Crossovers appear, disappear, and reverse. A candle closes above the average, then the next one closes below. The trader follows every signal and slowly gets chopped up.
A flat moving average is the market saying: There is no clean trend here.
In that environment, it may be better to:
Reduce position size
Wait for a clearer breakout
Use support and resistance instead of trend-following signals
Stay out until the market chooses a direction
Not every chart deserves a trade. Sometimes the best decision is to do nothing.
🧱 6. The 200 EMA Is a Decision Zone, Not a Wall
The 200 EMA is widely watched, which makes it important. But it is not magic.
Many traders treat the 200 EMA as if price must reverse the moment it touches it. Sometimes it does. Other times, especially in strong trends, price breaks through it without much hesitation.
The smarter approach is to watch the reaction instead of predicting it.
Ask:
Does price reject the area clearly?
Does it break through and hold?
Does it fake above or below and then reclaim?
Does the higher timeframe support the move?
Is price reacting with momentum or hesitation?
The 200 EMA is best understood as a decision zone. It is a place where traders are watching, orders may be waiting, and the market often reveals useful information.
The goal is not to guess the reaction before it happens. The goal is to read the reaction once it starts.
🌀 7. The Compression Break
Some of the best moves begin when the chart looks dull.
Before a strong trend develops, moving averages often compress. The 20 EMA, 50 EMA, and 200 EMA move closer together. They flatten. Price becomes choppy. Traders lose interest.
That lack of movement can be meaningful.
Compression often shows that the market is storing energy. When price finally breaks away from the compressed area and the moving averages begin to separate, a new directional phase may be forming.
This setup becomes more interesting when the breakout also clears a session range, a previous high or low, or a higher-timeframe level.
The key is patience. Trading inside compression can be frustrating because the market has not made a decision yet. Waiting for price to leave the compression often gives a cleaner read.
The opportunity usually comes after the mess, not inside it.
❌ 8. The Failed Crossover
Moving average crossovers are popular because they are easy to see. That does not make them easy to trade.
A bullish crossover attracts buyers. But if price fails to continue and quickly falls back below the averages, those buyers are suddenly trapped. Their exits can add pressure to the next move lower.
A bearish crossover can fail in the same way. Sellers enter, price recovers, and the failed bearish signal becomes fuel for a move higher.
A failed crossover can sometimes be more useful than a clean one because it shows trapped positioning.
Instead of asking, “Did the crossover happen?” ask, “Did the market accept the crossover?”
That small difference matters. Markets often move quickly when traders are forced to exit.
🔍 9. The Retest That Matters
The first break of a moving average gets attention. The retest gives more information.
If price breaks above a key moving average, a patient trader watches the next pullback. Can price hold above the average? Does the moving average begin to act as support? Are buyers defending the area?
If price breaks below a moving average, the same logic applies in reverse. A retest from underneath that fails to reclaim the average may suggest that former support has become resistance.
The first break often shows emotion. The retest often shows structure.
This is why patience matters. Entering on the first break may feel decisive, but waiting for the retest can provide a clearer invalidation point.
There is a difference between being early and being prepared.
🧭 10. The Higher-Timeframe Filter
A moving average setup on a lower timeframe can look excellent and still fail because the bigger picture is pointing the other way.
This is why higher-timeframe context matters.
If price is above the daily 50 EMA and the broader structure is bullish, long setups on the 15-minute or 1-hour chart may carry more weight. If price is below the daily 50 EMA and the broader structure is bearish, short setups may be easier to justify.
The lower timeframe can help with timing. The higher timeframe helps with bias.
This does not mean every trade must follow the daily chart. It means lower-timeframe signals should not be judged in isolation.
A clean entry is less useful when it is fighting a stronger trend.
📰 11. The News Reset
Moving averages become less reliable around major economic events.
High-impact news can create sharp spikes, wide candles, and fast reversals. During those moments, the moving average lags behind price and may give a distorted picture of the market.
After a major release, it is often better to let the first reaction pass. The first move can be emotional. The second structure is usually more useful.
A trader might wait for:
A reclaim of the moving average
A clean retest
A higher low
A lower high
A rejection from underneath
The point is not to avoid news forever. The point is to avoid treating a chaotic candle like a clean technical signal.
After news, patience is not weakness. It is protection.
🧠 12. The Real Edge
The real edge is not the exact moving average setting.
It is not whether a trader uses a 20 EMA or 21 EMA. It is not whether the line is simple, exponential, or weighted. Those choices matter, but usually less than traders think.
What matters more is context.
Before taking a moving average setup, ask:
Is the average sloping or flat?
Is price stretched or balanced?
Was liquidity just taken?
Did the market reclaim or reject the level?
Are traders likely trapped?
Does the higher timeframe agree?
Where is the trade idea invalidated?
A moving average will not predict the future. But it can help a trader understand the present more clearly. And in forex, clarity is valuable.
Most traders stare at the line. Better traders read the behavior around it.
📝 Editor’s Note
The strategies and market concepts discussed in our content are designed to help readers better understand market behavior. They are not trading recommendations. Financial markets are volatile, and every trader should test ideas carefully, manage risk and make independent decisions.